
Hanging onto the Harvest
Dehydrating & Freeze-Drying Foods for the Winter
Across Montana
Written by Amy Grisak
Contributed Photography
Long before canning was the go-to preservation method, people preserved foods through drying. I started with dried apples and kale chips. Both barely made it out of the dehydrator before being eaten. Now I use the dehydrator to stay ahead of the zucchini by slicing and seasoning to make a wonderful snack.

… Using the dehydrator to put up food for the winter is one of my favorite ways to preserve the harvest…
Each year I incorporate dehydrating more and more into the whole process of putting food up for the season. Besides making delicious apple slices, I also cook apples down to make a sauce, add a little cinnamon and dry the mixture into a delicious apple leather. Most dehydrators come with sheets for drying liquid ingredients, but parchment paper also works. Raspberries, cherries, and grapes also make a delicious pureed treat.
This process also holds true for tomatoes. I begin the season by drying slices of Roma tomatoes and using them in specific recipes. It’s a quick way to use seven to eight pounds of tomatoes as they’re first ripening. I also make leather with tomatoes, roughly six pints of sauce fits in the dehydrator for each batch, which uses 12 to 15 pounds of tomatoes at a time.
I like making sauce this way, versus canning, because I don’t have to worry about acidity levels when I add onions, garlic and peppers to give it more flavor. While it’s still hot, spread 1 ½ cups per layer on the dehydrator sheets, making sure it’s less than a ¼” thick. Turn the dehydrator to 145 degrees and dry for eight to 10 hours. Flip the semi-firm sauce after roughly four hours. It should be a smooth, pliable leather around the eight-hour mark. To grind it into a powder, dry it at least 10 hours, let it cool and run it through the food processor to powder it.
These are a great way to add a tomato flavor to dishes. To rehydrate, use 1/4 cup tomato powder to 1¼ cups of water. Boil the mix for a few minutes to thicken it. For the leather, tear off pieces for the desired serving amount and pour enough boiling water to cover them and soak for at least 10 minutes.


For any dried fruit or vegetable, the best way to store them is to measure into portion sizes and vacuum seal it or place in a jar with an oxygen absorber packet. But don’t continue opening a jar without using it within a week or so. Every time it’s opened, it allows air and humidity to degrade the quality of the food and possibly cause molding.
While using the dehydrator to put up food for the winter is one of my favorite ways to preserve the harvest, what really opened up my drying world is dehydrating leftovers from nightly meals.
“Recipes for Adventure: Healthy, Hearty & Homemade Backpacking Recipes,” by chef Glenn McAllister, is an excellent source for the logistics of creating entire meals for busy evenings or backcountry adventures.
As long as the fat content is low, a variety of foods can be dehydrated — even spaghetti and meat sauce or chicken curry with rice.
Break the meat into very small pieces so it dehydrates evenly. Spread thinly on the dehydrator sheet, using a cup to a cup and a half per dehydrator sheet. Because the meat is already cooked, dehydrate on a higher setting, 145 to 155 degrees, to dry faster. Break up the sauce halfway through the process to ensure it dries evenly.
For chicken dishes, use canned chicken for best results. Dab the fat off the chicken, break into smaller pieces and dry on a high setting.
There are a couple of options when pulling together meals in the dehydrator. The quickest route is to dry fully prepared meals. Have a few servings left of chili or a Hawaiian chicken and rice? Dry it. Anything that has a low-fat content and does not have a dairy base is a good place to start.
The second way is to make the ingredients separately and put them together when needed. Drying the meat, vegetables and even pasta, rice, potatoes, or quinoa in different batches allows for more diversity. It also allows you to prepare in larger batches.
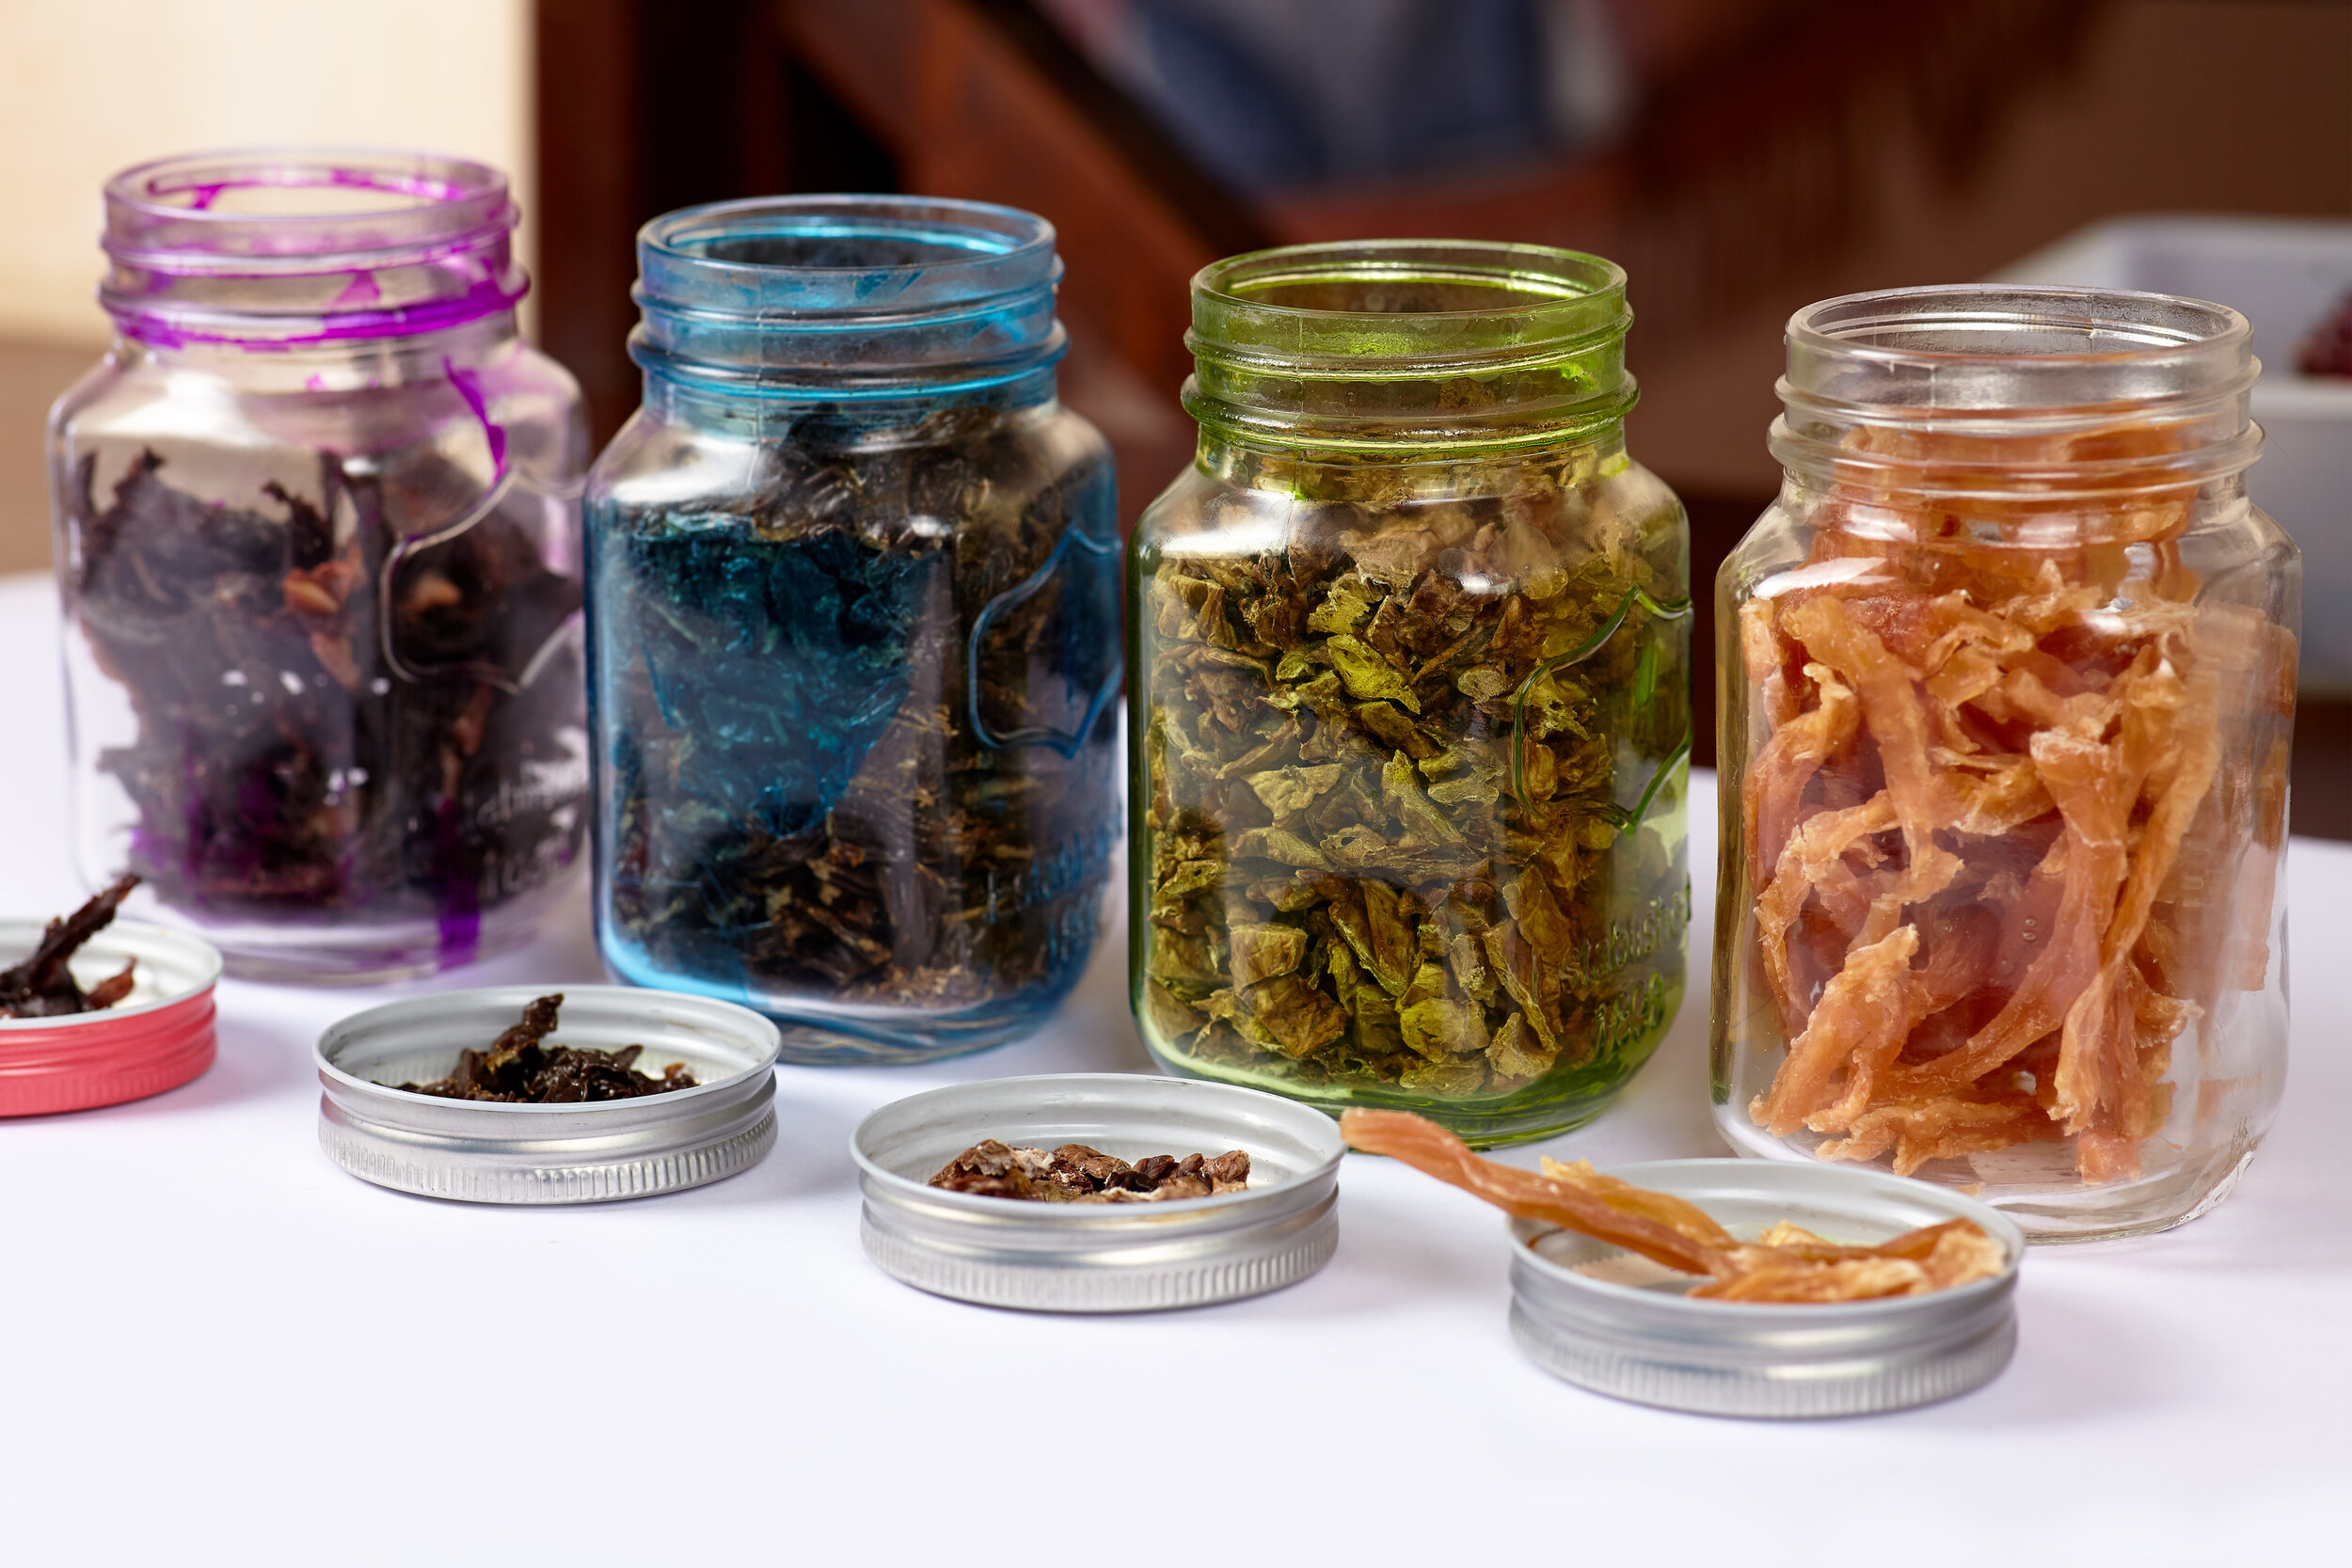
“For any dried fruit or vegetable, the best way to store them is to measure into portion sizes and vacuum seal it or place in a jar with an oxygen absorber packet. But don’t continue opening a jar without using it within a week or so. Every time it’s opened, it allows air and humidity to degrade the quality of the food and possibly cause molding.”
Storing meats is a little different from keeping dried fruits and vegetables for the long term. Because there is some level of fat, which can cause it to spoil, if you don’t use the meat within a couple of weeks, store it in a vacuum-sealed bag in the freezer.
Another way to preserve enormous amounts of food is by freeze-drying. A much more expensive alternative than drying, it’s gaining popularity because the price of the unit, though still expensive, is going down in price and the texture and flavor of the food is better and last for decades when properly stored. Costing between $2000 to $3400, different sized models preserve between 840 to 2500 pounds of food per year.
Freeze-drying takes food preservation to the next level because the initial freezing brings the temperature of the food down to between -30 to -50 degrees F. retaining the quality of the food. This is followed by a process called sublimation where a vacuum pulls approximately 95 percent of the moisture out of the food. The final step, absorption, is a secondary drying process that brings the overall moisture content as low as 1 percent. Just about any food can be freeze dried, including ice-cream bars and avocados.
To store freeze-dried foods, Mylar bags are lightweight and super easy to seal with a regular clothes iron set on the cotton setting, but without steam. Pop in an oxygen absorbing packet to ensure the food lasts a long time. Jars can also be used, particularly for foods that are going to be used quickly.
It’s natural to put up as much food as we can at the height of the harvest. Dehydrators and freeze dryers are exceptional tools to preserve the hard work of the summer and enjoy well into the winter season.